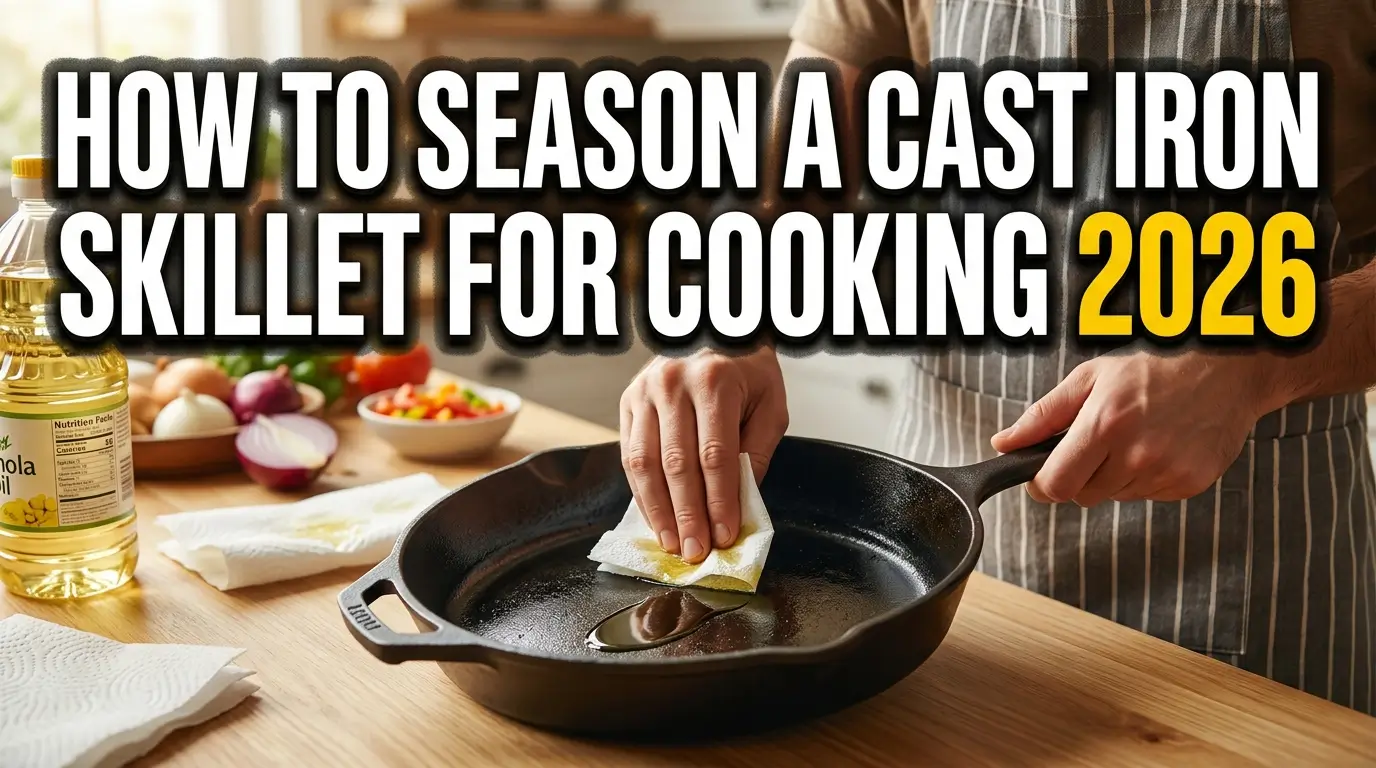
I bought my first cast iron skillet at a hardware store for $18. It had a rough, grey surface and a little sticker that said “pre-seasoned.” I took that sticker off, fried bacon, and everything stuck. I scrubbed it with soap and a green pad until it looked clean, which meant I scrubbed most of the factory seasoning off. The next morning, rust spots dotted the cooking surface. I thought cast iron was a scam.
Turns out, I just didn’t know what seasoning actually was. Once I understood the science and stopped overthinking it, the whole process became simple. Now I season pans for friends. This is everything I learned the hard way.
What Cast Iron Seasoning Actually
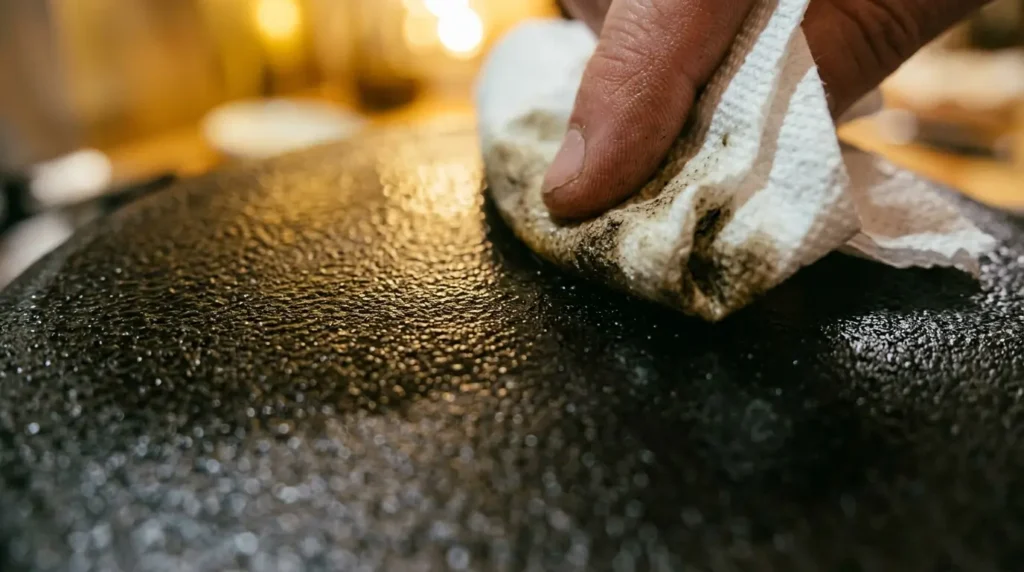
Seasoning is not a liquid you pour on. It’s a thin, hard layer of polymerized oil bonded to the iron.
When you heat oil past its smoke point, the fat molecules break apart and reform into a plastic-like polymer. That polymer fills the microscopic pores in the iron and creates a slick, water-resistant surface. The process is called polymerization.
Harold McGee explains it well in On Food and Cooking: the oil essentially turns into a natural non-stick coating, similar to how varnish cures on wood. The more layers you build, the smoother and darker the pan gets.
A well-seasoned skillet is dark brown to black. It repels water. Eggs slide. Rust stays away. And unlike synthetic non-stick, it never peels into your food.
Why You Need to Season or Reseason
Seasoning prevents rust. Bare iron corrodes fast in contact with moisture. Even a single fingerprint can leave a rust spot overnight.
It also makes the pan usable. Unseasoned iron is sticky and reactive. Acidic foods like tomatoes or wine leach a metallic taste. A solid seasoning layer blocks that.
And practically, seasoning makes cleanup easy. Food releases without a fight. You wipe it out, rinse with hot water, dry it, and move on.
If your pan looks dull, has rust spots, or food sticks constantly, the seasoning is gone or damaged. Time to fix it.
Also Read: How to Caramelize Onions Properly at Home 2026
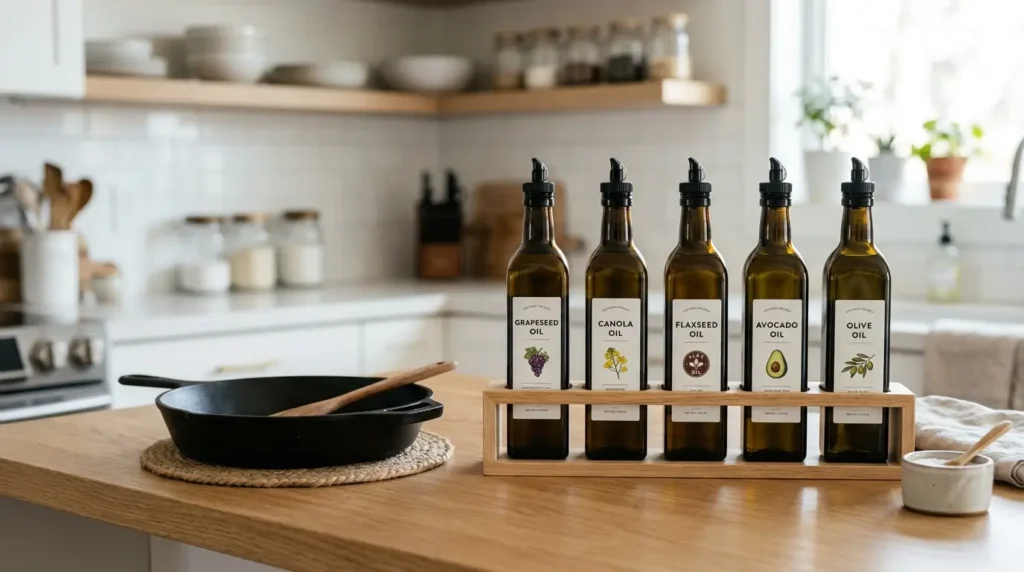
Choosing the Right Oil
The oil you pick determines how hard and durable your seasoning gets. I’ve tested a handful over the years. Here is what I’ve found.
| Oil | Smoke Point | My Honest Take |
|---|---|---|
| Grapeseed | 420°F (216°C) | Hard, smooth, black finish. My daily driver. |
| Canola | 400°F (204°C) | Cheap, reliable, slightly softer but works great. |
| Crisco | 360°F (182°C) | Classic choice, produces a sturdy black patina. |
| Flaxseed | 225°F (107°C) | Very hard but brittle. Can flake after a few uses. |
| Avocado | 520°F (270°C) | Needs hotter oven. Decent, but expensive. |
| Olive | 375°F (190°C) | Too low smoke point. Leaves a sticky, gummy coat. |
I use grapeseed oil for new seasoning. It costs $5 to $8 a bottle in most grocery stores and never let me down. Canola oil is my backup, especially if I’m seasoning multiple pans.
Avoid olive oil and butter. They burn and leave a sticky mess. Flaxseed oil looks beautiful at first but I’ve had it flake into my eggs. Not worth the risk.
If you run a restaurant kitchen and season pans in bulk, canola oil is the practical choice. It’s cheap, available in large containers, and holds up under daily use. Some chefs I know use a dedicated seasoning rack and rotate pans through the oven every week.
How to Season in the Oven
This is the method for new pans, stripped pans, or a full refresh. It coats the entire skillet, handle and bottom included.
What you need: Skillet, oil, paper towels or lint-free cloth, aluminum foil, baking sheet.
-
Preheat your oven to 450°F (230°C). Put foil on the bottom rack to catch drips.
-
Wash the skillet with hot water and a small amount of mild soap. Dry it completely with a towel, then set it on a burner over medium heat for 2 to 3 minutes. Every drop of moisture must evaporate.
-
Pour a dime-sized drop of oil onto the cooking surface. Rub it over the entire skillet — inside, outside, handle — with a paper towel.
-
Now the most important step: take a clean paper towel and buff the skillet as if you made a mistake and want to wipe all the oil off. The layer should be microscopically thin. Any visible oil will turn into a sticky, uneven mess.
-
Place the skillet upside down on the top oven rack. The upside-down position stops oil from pooling in the cooking surface.
-
Bake for 1 hour. You might smell a faint odor. Open a window.
-
Turn off the oven. Leave the skillet inside to cool completely. This takes about 2 hours. Slow cooling prevents the seasoning from cracking.
-
Repeat the oil-buff-bake-cool cycle 2 to 3 more times. After the final round, the pan should be dark bronze to nearly black and slightly glossy.
That is it. Your skillet is ready.
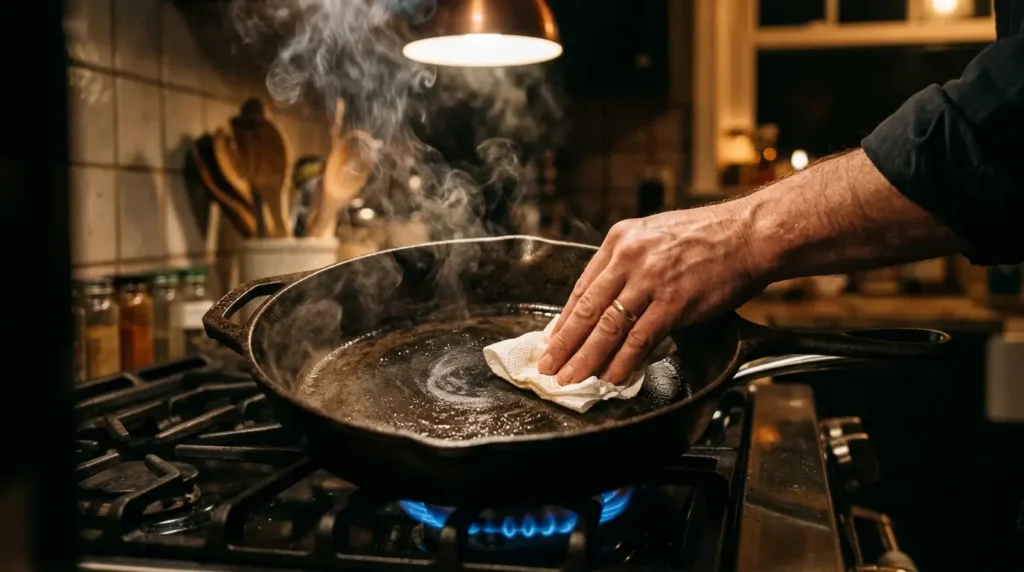
How to Season on the Stovetop
Use this for quick touch-ups between meals. It only seasons the interior but takes 10 minutes.
-
Wash and dry the skillet completely. Heat it on the burner over medium heat for 3 to 4 minutes.
-
Add a few drops of oil. Rub a thin coat over the entire interior with a paper towel.
-
Keep heating. The oil will start to smoke. Let it smoke for 2 to 3 minutes, then rub the surface again gently with a fresh towel to spread any micro-pools.
-
Turn off the heat. Let the pan cool on the burner.
I do this after cooking acidic dishes or if I notice a dull spot. It keeps the non-stick surface alive without firing up the whole oven.
New Skillet vs. Old Skillet
A brand-new Lodge skillet comes with factory seasoning. It’s functional but rough. I always add one or two oven cycles to a new pan before cooking. The added layers fill in the texture and build a better base.
Vintage cast iron — Griswold, Wagner, old Wapak — often has decades of smooth seasoning built up. If the surface is black and glossy, just cook on it. Stovetop seasoning once a month keeps it strong.
If you inherit a rusty skillet, strip it to bare iron first. That means removing all old seasoning and rust before starting fresh.
Common Seasoning Mistakes
I made all of these. Here is what to watch for.
Too much oil. This is the number one mistake. The surface turns sticky and gummy. Fix it by scrubbing with hot water, drying, and re-seasoning with a paper-thin coat.
Wrong oven temperature. If the oil doesn’t reach its smoke point, it won’t polymerize. If the oven is too hot, the seasoning burns off into carbon dust. Stick to 450°F for grapeseed and canola.
Skipping the dry step. Trapped moisture under oil creates steam, which lifts the seasoning. Always heat the pan on the stove to evaporate every trace of water before oiling.
Cooking acidic foods too early. Tomato sauce, wine, or citrus can strip a young seasoning. Wait until you have built 5 to 6 cook cycles with fatty foods before introducing acids.
Using soap every time. Occasional soap is fine. Daily scrubbing with detergent degrades seasoning faster. I clean with hot water, a chainmail scrubber, and a quick stovetop dry.
Not disposing oily rags safely. Oil-soaked paper towels or cloths can spontaneously combust if left in a pile. Lay them flat to dry or put them in a sealed metal container. I learned this from a firefighter who saw a kitchen go up.
Maintaining Your Seasoning
Daily care is simple. After cooking, rinse the warm pan with hot water. Scrub with a chainmail scrubber or stiff brush. No soap needed most of the time.
Dry with a towel, then put the skillet back on a burner over medium heat for 2 minutes to evaporate any remaining moisture. While the pan is still warm, rub a micro-thin layer of oil on the cooking surface. Turn off the heat and let it cool.
Cook fatty foods early on. Bacon, sausage, grilled cheese, cornbread. They reinforce the seasoning with every use.
Store the skillet in a dry place. If you stack pans, put a paper towel between them to protect the surface.
Restoring a Rusty or Damaged Skillet
Cast iron is nearly impossible to destroy. I’ve pulled rusted pans out of garage sales and made them slick again.
For light rust, scrub with steel wool or a wire brush until you see bare grey iron. Rinse, dry, and immediately start the oven seasoning process.
For heavy rust, soak the pan in a 50/50 water and white vinegar solution for 30 minutes. Check it. If rust remains, go another 15 minutes. Do not exceed 1 hour total. Vinegar eats iron and can pit the surface. Scrub, rinse, dry, and season immediately. Bare iron rusts in minutes.
Some cities have professional cast iron restoration services. They use electrolysis tanks or sandblasting to strip pans to bare metal. Search “cast iron restoration near me” if you don’t want to do it yourself. Expect to pay $25 to $60 per pan.
Where to Buy Supplies
Grapeseed oil sits in the cooking oil aisle of most grocery stores. Health food stores sometimes carry it too. Canola oil is everywhere.
Flaxseed oil is in the supplement section of health food stores. It’s more expensive, around $6 to $10 per bottle.
Chainmail scrubbers cost $10 to $15 online or at kitchen supply shops. A basic Lodge skillet runs $20 to $30 at hardware stores, big-box retailers, and camping outfitters.
For vintage pans, check antique stores, estate sales, and online marketplaces. Search “vintage cast iron store [your city]” to find local dealers. Some farmers markets also sell artisan oils that work well for seasoning.
Restaurant kitchens can buy bulk canola or grapeseed oil from wholesale suppliers. Prices drop significantly in 5-gallon quantities.
Frequently Asked Questions
Can I season cast iron with olive oil?
You can, but it’s a bad idea. Olive oil has a low smoke point and produces a soft, brittle seasoning that scratches off easily. Stick with grapeseed or canola.
Why is my cast iron sticky after seasoning?
You used too much oil. The excess didn’t fully polymerize and turned into a tacky layer. Scrub it off with hot water and re-season with a whisper-thin coat.
How many coats of seasoning do I need?
For a bare iron skillet, 3 to 4 oven cycles build a strong foundation. For maintenance, one stovetop coat every few weeks is plenty.
Do I need to season a pre-seasoned skillet?
Not strictly necessary, but adding one or two oven layers smooths the factory surface and makes cooking much easier from day one.
What temperature should I season cast iron at?
450°F (230°C) works for grapeseed, canola, and Crisco. For avocado oil, go to 500°F. Flaxseed oil only needs 400°F because of its low smoke point.
Can you season cast iron without an oven?
Yes. The stovetop method works on gas, electric, and induction. Heat the pan, apply a thin oil coat, let it smoke, and cool.
Can I season a skillet on a glass top stove?
Yes. Just center the pan carefully and avoid sliding it. The stovetop seasoning method works fine.
Is cast iron seasoning safe at high heat?
Polymerized seasoning is stable up to around 600°F. It won’t release harmful chemicals into your food. That’s one reason I switched away from synthetic non-stick pans.
Can I use bacon grease to season cast iron?
Bacon grease works for ongoing maintenance, but for the base layer I prefer neutral oils with known smoke points. Animal fats can go rancid if the pan sits unused for a while.
Why does my seasoning flake off?
Flaking usually happens when the oil layer was too thick or the pan wasn’t cleaned properly before seasoning. Also, flaxseed oil tends to flake more than grapeseed. Strip the flaking spots and re-season with thin coats.
How do I season a cast iron skillet that is already pre-seasoned?
Follow the same oven method. The new layers bond to the existing factory seasoning and fill in the rough texture. Make sure the pan is clean and dry first.
Get Started This Weekend
Seasoning cast iron is not complicated. It’s chemistry with a simple recipe.
Buy a bottle of grapeseed oil. Wash and dry your skillet. Buff a micro-thin coat of oil over every surface. Bake it upside down at 450°F for an hour. Let it cool in the oven. Repeat twice more.
After that, cook fatty foods. Clean with hot water and a scrubber. Dry on the stove. Rub a drop of oil on the warm surface. That is the whole routine.
The pan gets better every time you use it. Ten years from now, someone will find your skillet at a garage sale and wonder how it got so smooth. You’ll know.
Leave a Reply