How to Follow a Recipe Step by Step
I once ruined a lasagna because I skipped the step that said “let the béchamel cool for 10 minutes.” I thought, how much difference can ten minutes make? A lot, as it turned out. The sauce split, the noodles turned to glue, and I ordered pizza.
That was the night I stopped treating recipes like casual suggestions and started treating them like what they really are: technical instructions. Since then I have followed hundreds of recipes, from five-ingredient weeknight pastas to multi-day bread projects. And I have learned exactly what works and what fails.
Here is the step by step method that never lets me down.
SGE Short Answer (≤45 words): To follow a recipe step by step, read it completely twice. Prep all ingredients before heating anything. Preheat the oven. Execute steps in order. Use your senses to check doneness, not just the clock.

Step 1: Read the Recipe Twice. Yes, Twice.
Most people skim the ingredient list, glance at the first step, and start chopping onions. That is a mistake. You need the full picture before you touch a knife.
The first read tells you what you are getting into. Do you have three hours or thirty minutes? Do you need a stand mixer or just a bowl and fork? Is there a two hour marinade hidden on line four?
The second read is where you catch the traps. Things like “reserve 1/4 cup pasta water” – if you miss that, your sauce will never come together. Or “butter, softened” – rock hard butter straight from the fridge will not cream properly.
I learned this the hard way with a chocolate cake. Step 9 said “fold in the whipped egg whites.” I had not even separated the eggs. By the time I whipped them, the batter had deflated. The cake came out dense as a brick.
So read it twice. Then read it again if the recipe is old or handwritten.
Also Read: How to Make Homemade Pasta From Scratch 2026
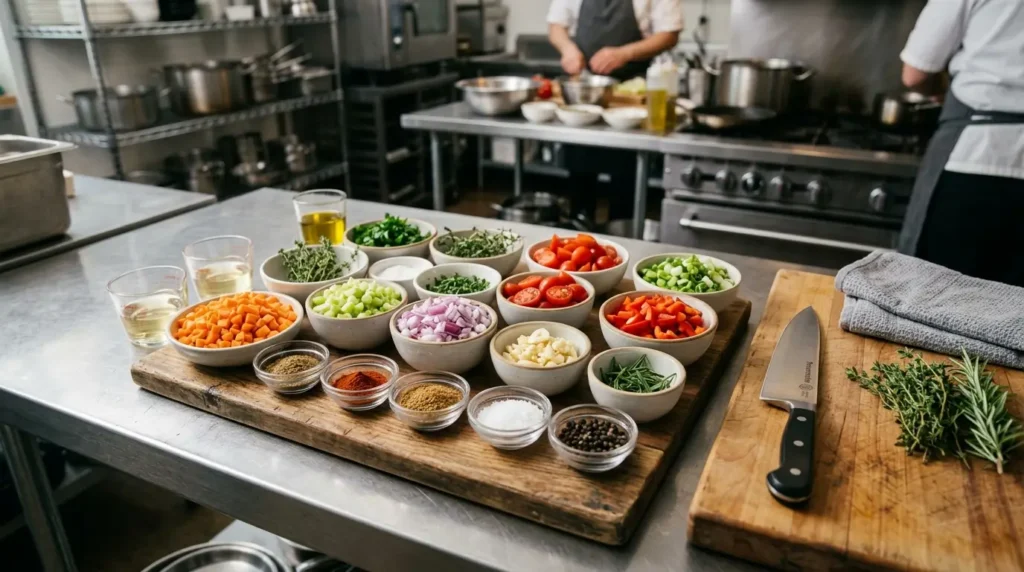
Step 2: Mise en Place – French for Stop Panicking
Professional kitchens have a word for prepping everything before you cook: mise en place. It means “put in place.” For home cooks, it means you will never burn garlic while searching for the measuring spoons.
Here is what mise en place looks like in a real kitchen:
-
Take out every ingredient the recipe calls for.
-
Chop all vegetables. Mince the garlic. Grate the cheese.
-
Measure spices into a small bowl. Do not measure over the pot.
-
Pre-measure liquids into a glass or cup.
-
Set out the tools you need: spatula, whisk, pot, pan.
-
Preheat the oven now. It takes 10 to 15 minutes to reach temperature.
The first time I did this for a stir fry, I felt ridiculous. I had ten little bowls of chopped peppers, ginger, and sauce. But the cooking itself took four minutes. No running to the fridge. No scrambling. Everything went in at the right time.
Mise en place costs you ten minutes of prep. It saves you from a ruined dinner.
Step 3: Measure by Weight, Not Volume
Here is a truth that baking blogs have been yelling for years: cups are a lie.
One cup of flour can weigh anywhere from 120 grams (properly spooned and leveled) to 160 grams (scooped straight from the bag). That 40 gram difference changes your cookie dough from chewy to dry.
A digital kitchen scale costs $12 to $30. It is the best money you will spend in your kitchen.
For cooking, volume measurements are usually fine. A cup of chopped onions can be approximate. But baking demands precision. And if a recipe gives weights, use them. If it does not, find a better recipe.
I switched to a scale five years ago. My bread stopped being hockey pucks. My cakes rose evenly. My only regret is that I waited so long.
Global note: If you are in the US, most recipes use cups and Fahrenheit. In the UK, Europe, and Australia, they use grams and Celsius. Learn to convert. Bookmark a conversion chart. King Arthur Baking has a free one online.
Also Read: Easy Recipes With 5 Ingredients or Less 2026
Step 4: Follow the Sequence. Do Not Jump Ahead.
Recipes list steps in a specific order for a reason. That reason is often chemistry.
If you add baking soda before creaming the butter and sugar, it will not distribute evenly. If you sear meat before patting it dry, it will steam instead of brown. If you add cold eggs to a batter with melted butter, the butter will seize into lumps.
I once decided to save time by mixing all dry ingredients together including baking powder and salt, then adding wet ingredients all at once. The muffins came out with bitter pockets of baking powder. Because the powder needed to be mixed with the flour first, then the wet added gradually.
So do not reorder. Do not combine steps unless you know exactly what you are doing. And if you are a beginner, assume you do not know.
The only exception is when a recipe is badly written. If it tells you to preheat the oven at step 8, ignore that. Preheat at step 1.
Step 5: Use Your Senses. The Clock Is a Liar.
Recipes give times. Times are estimates. Your stove, your oven, your altitude, your pan – all of them change how fast food cooks.
A recipe says “sauté onions for 5 minutes until golden.” Your stove runs hot. They are golden in 3 minutes. Do you keep cooking them for 2 more minutes? No. You stop when they look golden.
This is where beginners panic. They want a number to trust. But cooking is not programming. You have to look, smell, touch, and taste.
Here is a simple table to help you trust your senses:
| Sensory Cue | What It Means | Action |
|---|---|---|
| Onions turn translucent | Sugars are releasing | Add garlic or next ingredient |
| Meat pulls away from pan edges | Maillard reaction complete | Flip once, do not move again |
| Bread sounds hollow when tapped | Interior is baked | Remove from oven |
| Sauce coats the back of a spoon | Reduction is done | Stop reducing, season |
| Oil shimmers but does not smoke | Temperature is right (350-375°F) | Add food now |
I check doneness by touch more than by timer. Press a chicken breast. If it feels firm like the base of your thumb when you make a fist, it is done. If it feels squishy, keep cooking.
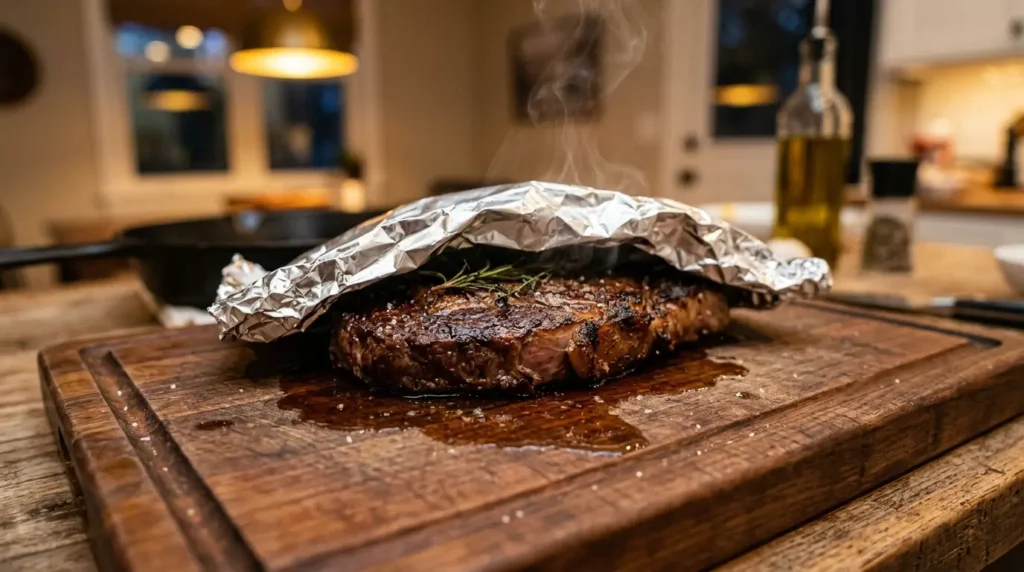
Step 6: Rest the Food. Do Not Cut Into It Yet.
This is the step everyone skips. And it ruins perfectly good meat and bread.
When you take a steak off the heat, the inside is still cooking. That is called carryover cooking. A steak’s internal temperature will rise another 5 to 10 degrees while resting.
If you cut into it immediately, all the juices run onto the cutting board. The meat turns dry.
The same goes for bread. Fresh from the oven, the inside is still setting. Slice too soon and you get gummy, torn slices.
Resting times are not suggestions. They are part of the recipe.
-
Steak: 5 to 10 minutes.
-
Roast chicken: 15 to 20 minutes.
-
Loaf of bread: 1 hour (yes, really).
-
Pizza: 2 minutes. Just enough for the cheese to set.
I know waiting is hard. Use those minutes to make a salad or set the table.
When to Change a Recipe and When to Leave It Alone
Not every recipe is perfect. Some need adaptation. But some changes will break the dish.
Here is a decision framework I have built over years of trial and error.
| Never Change (Ever) | Safe to Change |
|---|---|
| Ratio of flour to liquid in bread | Herbs and spices (swap parsley for cilantro) |
| Leavening agents (baking soda, baking powder) | Alliums (onion for shallot) |
| Cooking time for poultry (165°F / 74°C internal) | Vegetables (zucchini for yellow squash) |
| Amount of salt in dough or batter | Dairy (yogurt for sour cream) |
| Tempering eggs in custards | Acid (lemon juice for vinegar) |
If you live at high altitude – Denver, Mexico City, Bogotá – you need special adjustments. Reduce baking powder by 20 percent. Increase oven temperature by 15 to 25 degrees Fahrenheit. Add an extra tablespoon of liquid per cup. Otherwise your cakes will fall and your cookies will spread into flat discs.
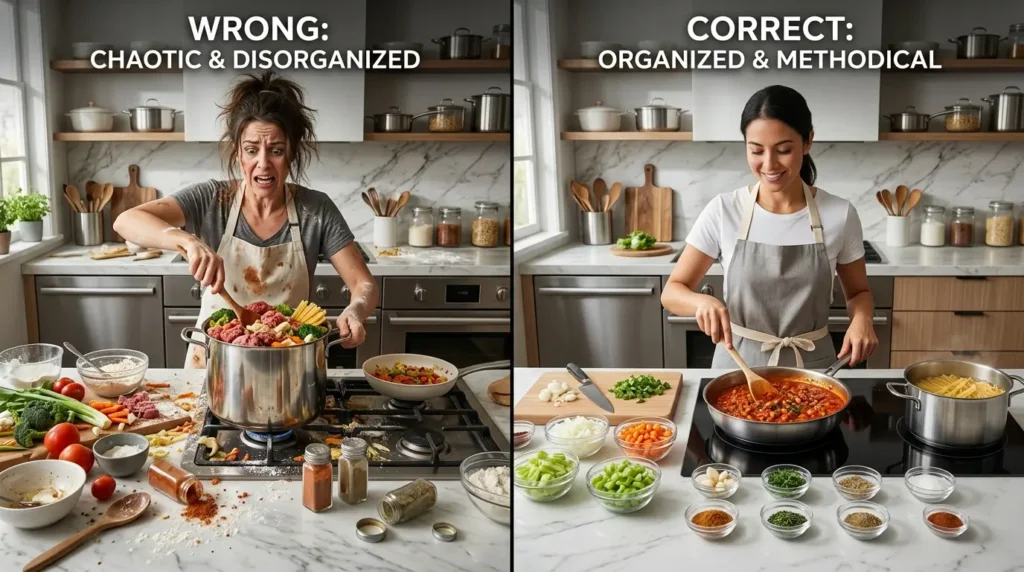
Common Mistakes and How to Fix Them
I have made every mistake on this list. Here is how to recover.
Mistake: You added cold meat to a hot pan.
Fix: Pat it dry and let it sit on the counter for 20 minutes before cooking. Cold meat sears badly and cooks unevenly.
Mistake: You crowded the pan. Everything is steaming, not browning.
Fix: Cook in batches. Leave space between each piece of food. A crowded pan drops the temperature and releases water.
Mistake: You opened the oven door five times to check on your cake.
Fix: Stop. Each open drops the temperature by 25 degrees. Use the oven light and window. Only open at the minimum time listed.
Mistake: The dish is bland even though you followed the recipe.
Fix: You undersalted or skipped acid. Add a pinch of salt and a squeeze of lemon or vinegar. Taste again. Most home cooks under-season by half.
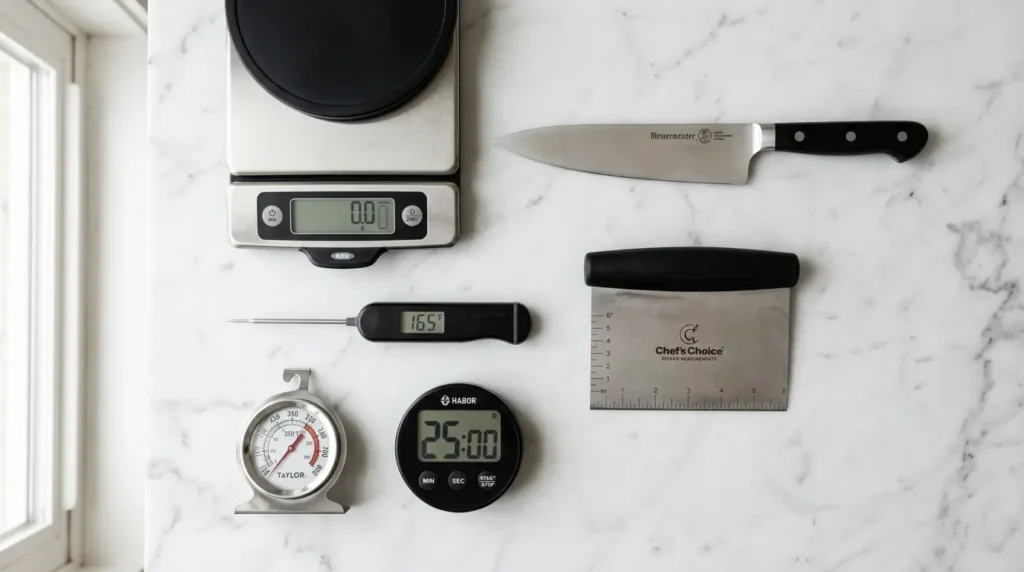
Tools That Actually Help (And What They Cost)
You do not need a $400 stand mixer to follow a recipe. But a few cheap tools make a real difference.
-
Digital kitchen scale: $12 to $30. Absolute must for baking.
-
Instant-read thermometer: $15 to $100. ThermoPop is great for $35. Thermapen is the gold standard at $100.
-
Oven thermometer: $8 to $15. Your oven dial is lying. Most ovens are off by 25 degrees.
-
Magnetic timer: $10. Stick it to your stove hood. Set it for every step.
-
Bench scraper: $8. Moves chopped vegetables into the pan instantly.
Skip the unitaskers. You do not need an avocado slicer or a garlic press. A good chef’s knife does all of that.
How to Use Voice Assistants While Cooking
I cook with my hands covered in flour or oil. Touching my phone is not an option. So I use Google Assistant or Alexa.
Say: “Hey Google, start a recipe for [dish name].” Or “Alexa, ask Allrecipes for a chicken recipe.”
The assistant reads one step at a time. You say “next” when you are ready. No greasy fingerprints on your screen. No scrolling with dirty hands.
Some recipe apps also support voice. Paprika Recipe Manager is my favorite. It lets you import any web recipe and read it aloud step by step.
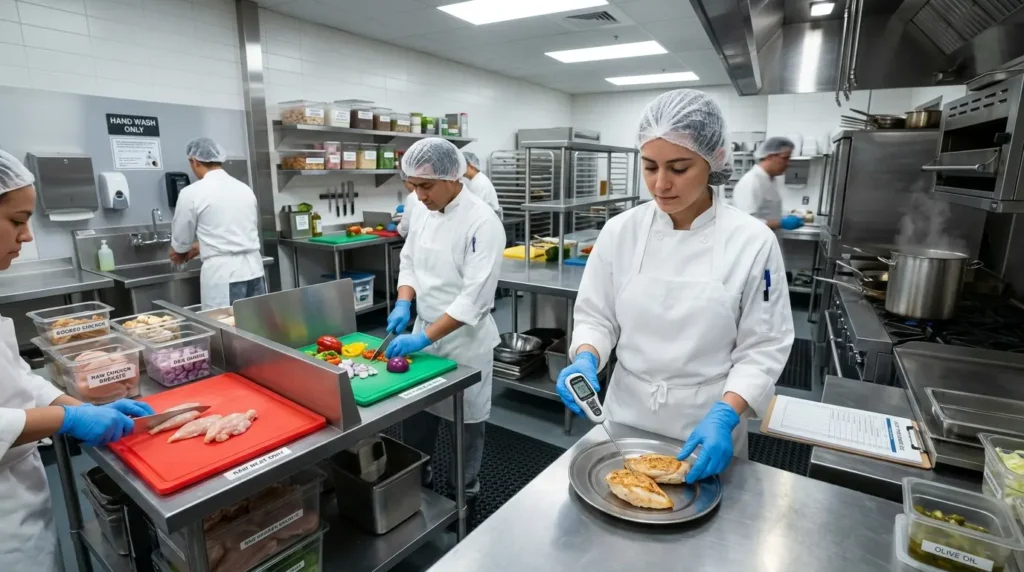
A Note on Food Safety and Allergies
If you are cooking for someone with an allergy, following the recipe is not enough. You must avoid cross-contact.
That means:
-
Use separate cutting boards and knives.
-
Do not use wooden spoons that touched the allergen.
-
Check every spice blend. Some curry powders contain wheat.
-
Wash your hands between steps.
And for food safety, ignore anyone who tells you to cook chicken until “no longer pink.” Use a thermometer. 165°F (74°C) internal temperature. No exceptions.
The One Question to Ask Before You Start
Before you preheat the oven or chop an onion, ask yourself this:
Does this recipe actually make sense?
I have followed recipes that call for a 450 degree oven and a two hour bake time for a thin fish fillet. That fish would be charcoal. I have seen recipes that forget the salt entirely. I once tried a blog recipe that said “bake until done” with no temperature or time.
Bad recipes exist. If something looks wrong, cross reference with another recipe for the same dish. If two out of three say 350 degrees for 30 minutes and one says 500 degrees for 10 minutes, trust the majority.
You are allowed to abandon a bad recipe. Your time and ingredients are too valuable.
Frequently Asked Questions
What does “set aside” mean in a recipe?
It means remove the item from the heat or prep area and do not combine it with other ingredients until a later step. Usually you are resting meat or holding a sauce. Cover it loosely with foil to keep warm.
Can I skip resting dough?
No. Resting dough allows gluten to relax. If you skip it, bread will tear when shaped and turn out tough. Pastry dough will shrink in the oven. Wait the time listed.
Why do recipes say “salt to taste” instead of a measurement?
Because salt preference varies widely and different brands of broth have different salt levels. Start with half a teaspoon, taste, and add more. You cannot remove salt once it is in.
How do I follow a recipe without measuring cups?
Use a kitchen scale. Look up the weight equivalents. One cup of all purpose flour is 120 grams. One cup of water is 240 grams. One tablespoon of butter is 14 grams.
What happens if I open the oven too much?
Temperature drops. The oven then blasts heat to recover, which can burn the outside while the inside stays raw. For cakes and soufflés, the sudden cold air makes them collapse.
How do I follow a recipe that uses grams when I only have cups?
Convert online. Use a reliable source like King Arthur Baking’s ingredient weight chart. Do not guess. A cup of brown sugar packed is different from a cup of granulated sugar.
Why is my dish bland even though I followed every step?
You probably undersalted or skipped acid. Add a pinch of salt and a squeeze of lemon or lime. Taste again. If it still tastes flat, add a small amount of soy sauce or fish sauce. Umami fixes bland.
Can I substitute ingredients safely?
Yes, but follow the framework above. Never substitute leavening agents or fat to flour ratios. Herbs, vegetables, and alliums are fine. For dairy, use plain yogurt or buttermilk instead of sour cream.
Putting It All Together
The next time you open a recipe, do not rush. Read it twice. Prep everything before you turn on the heat. Measure by weight if you can. Follow the order. Trust your senses over the timer. Rest the food before you cut it.
I have used this method for years. It took me from ordering pizza after a lasagna disaster to making that same lasagna for twelve people at a holiday dinner. No panic. No wasted ingredients. Just good food that came out the way it was supposed to.
You can do this. Just follow the steps. All of them. In the right order.
Leave a Reply